
Charge 3B is always receiving updates! To update your Charge 3B, follow the instructions below.
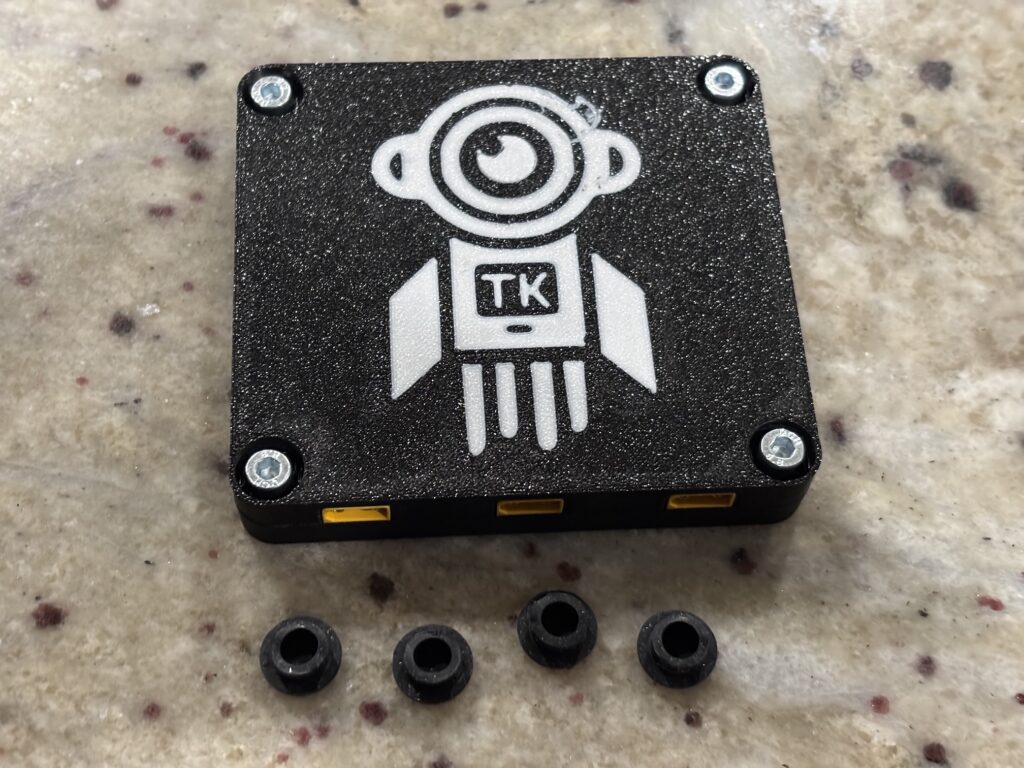
1. Remove the silicone feet
Flip the Charge 3B over and take off the four silicone feet.
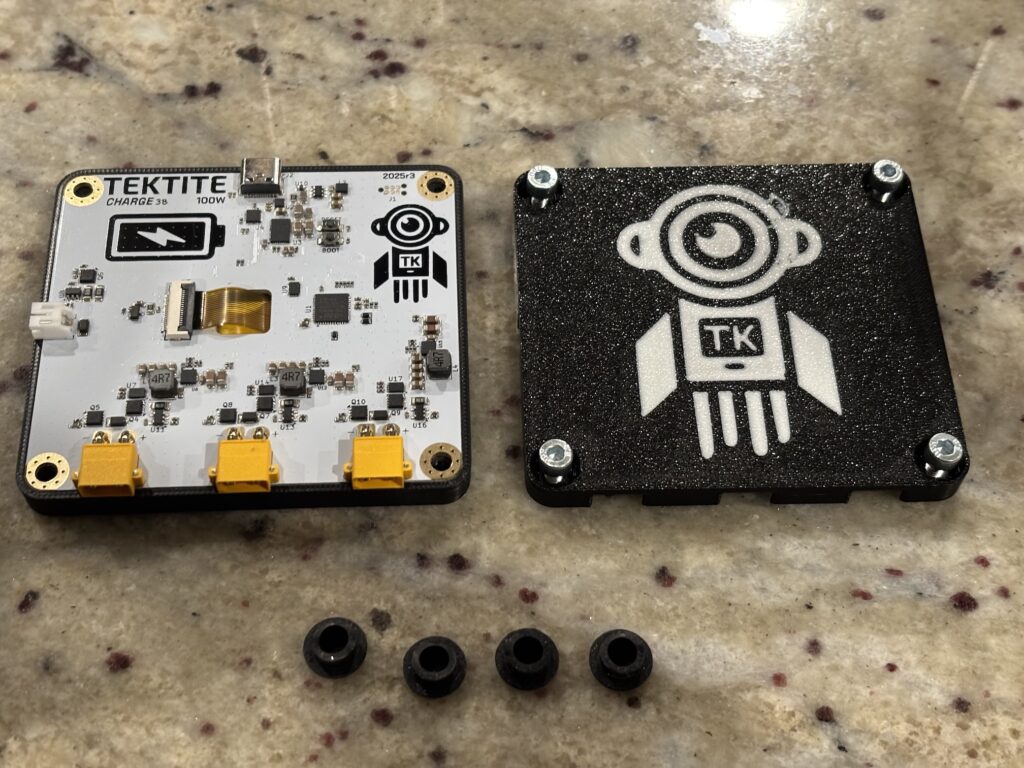
2. Remove the bottom cover
Use a regular M4 hex screwdriver (H3.5) to loosen the four M4 screws on the bottom. Then, remove the cover to reveal the PCB.
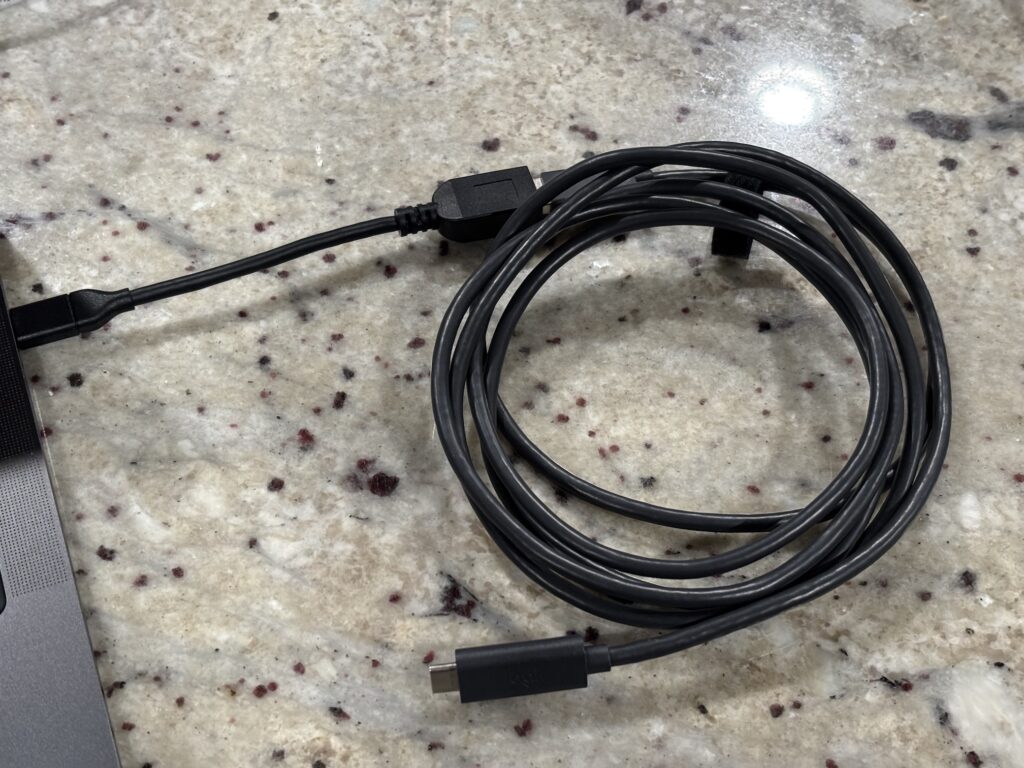
3. Grab a USB-A to USB-C cable
I’m not fully sure why, but updating firmware only works if there is a USB-A to USB-C cable. As you can see in the following image, I’m using a USB-C to USB-A dongle to adapt the USB-C ports on my laptop to USB-A for the USB-A to USB-C cable.
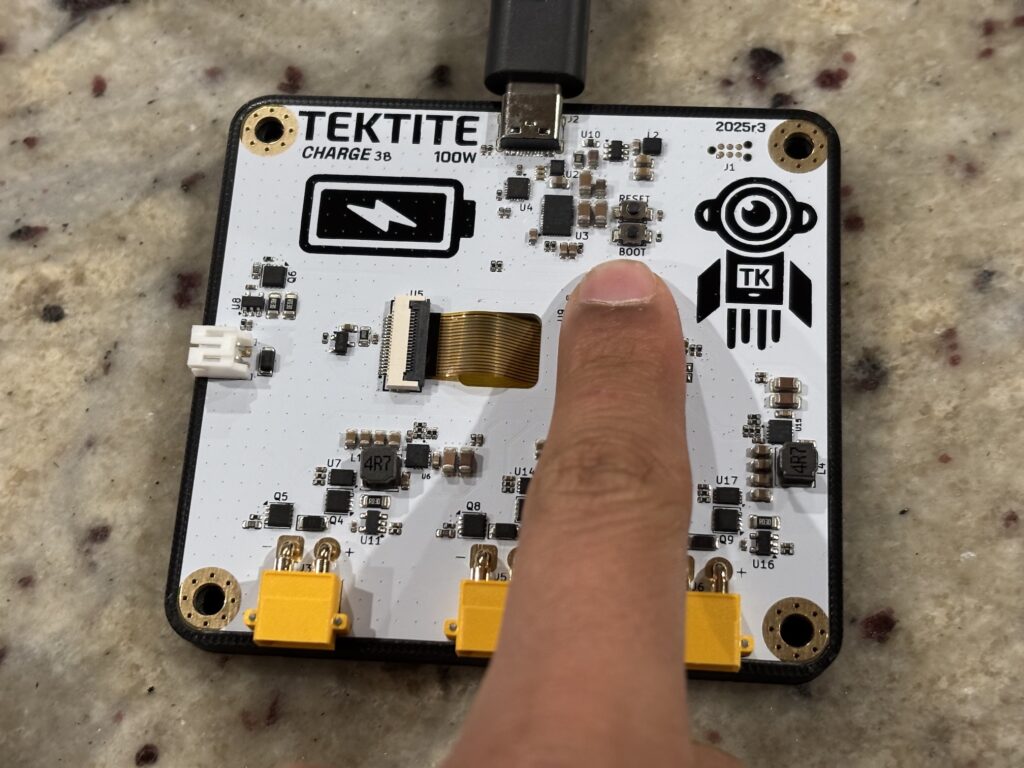
4. Hold down “BOOT” and plug in USB-C
On the exposed PCB, hold down the button labeled BOOT (the lower button in this image) and while holding it down, plug in the USB-C side of the USB-A to USB-C cable.
If you have done it correctly, the Charge 3B should be on, but show a dark screen:
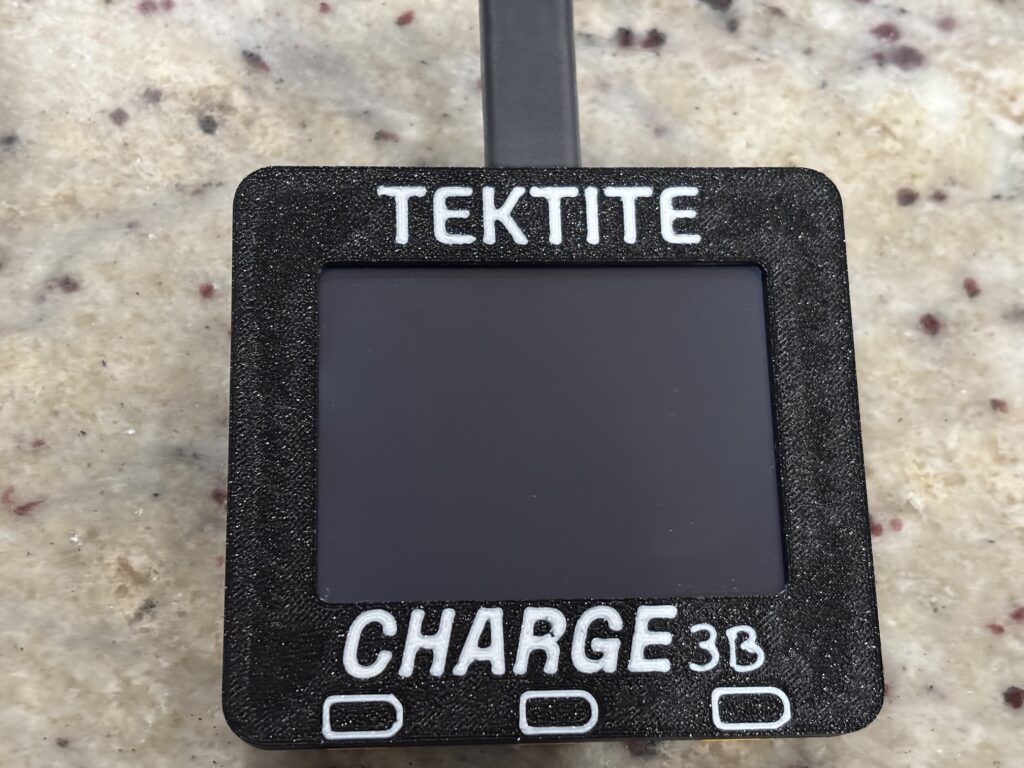
(It’s hard to tell in the image, but the backlight is on)
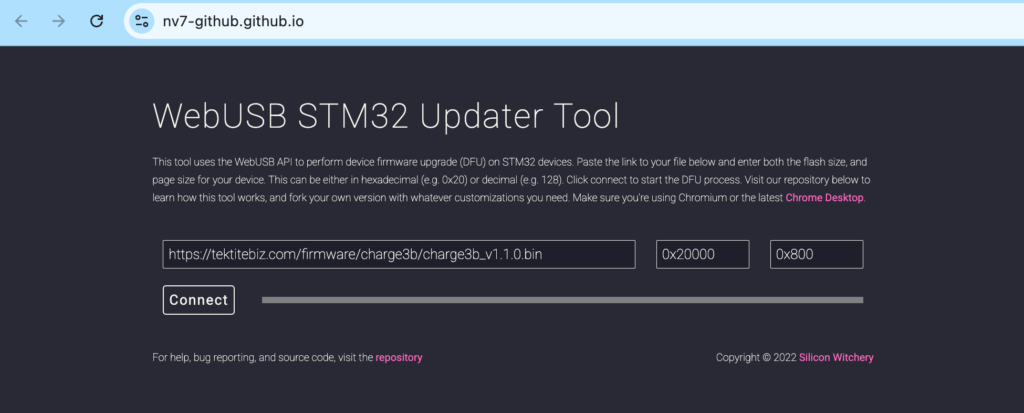
5. Open the web updater
Open up https://nv7-github.github.io. Under the URL input, enter in the URL of the firmware, which will be sent out with any firmware releases. Under “Flash Size” put 0x20000. Under “Page Size” put 0x800.
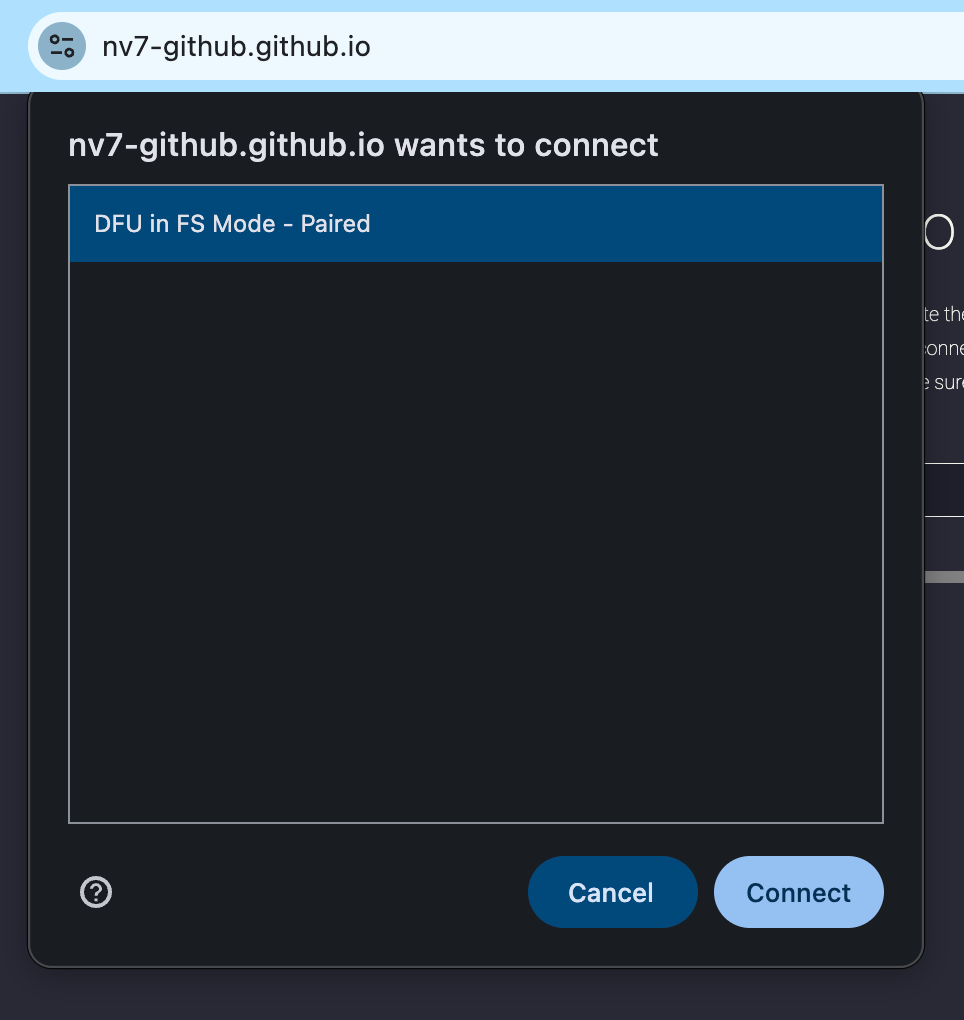
6. Flash the firmware to Charge 3B
This code is forked from a repository I found, which has some bugs, so this part is a little weird. At some point in the future I may re-write this updater to have a nicer experience. For now, you need to do the following:
First, press “Connect”. This will prompt you to select a device, where one result should should show up (your Charge 3B)
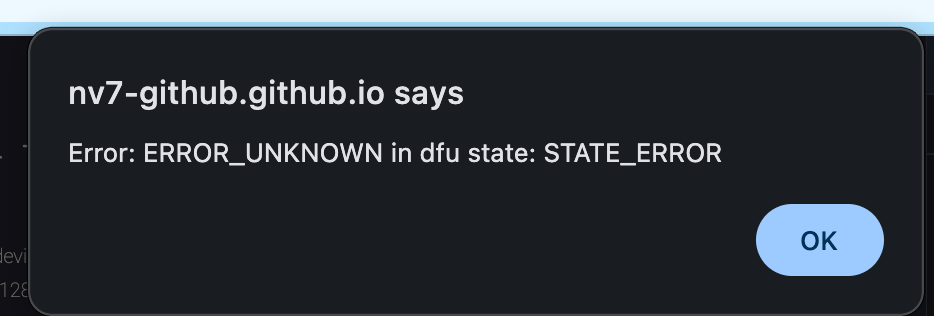
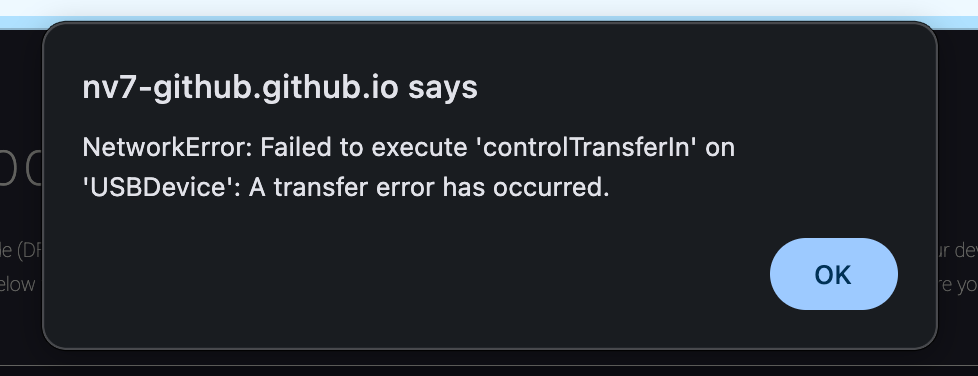
An error about the current state (shown below) will pop up, press OK. Then repeat the previous step in which you pressed “CONNECT” and selected the device.
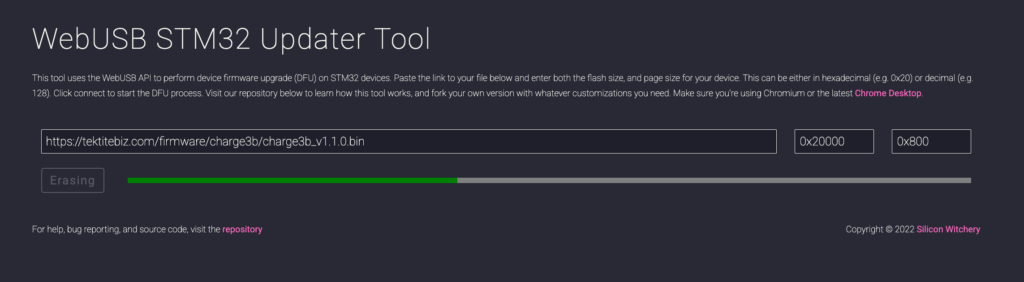
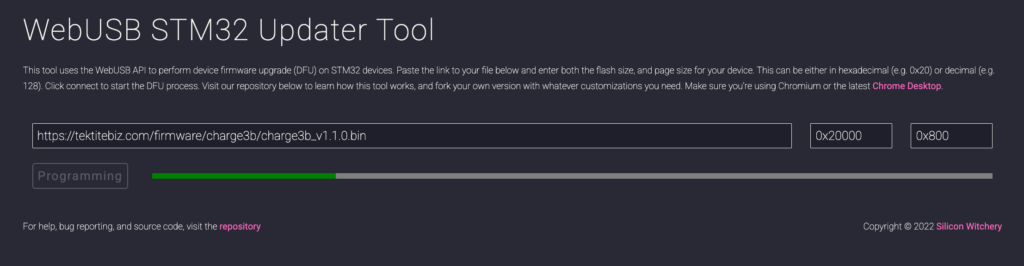
A progress bar labeled “ERASING” followed by a progress bar labeled “PROGRAMMING” should show up.
7. Make sure the firmware has been flashed
After this happens, you will get another error:
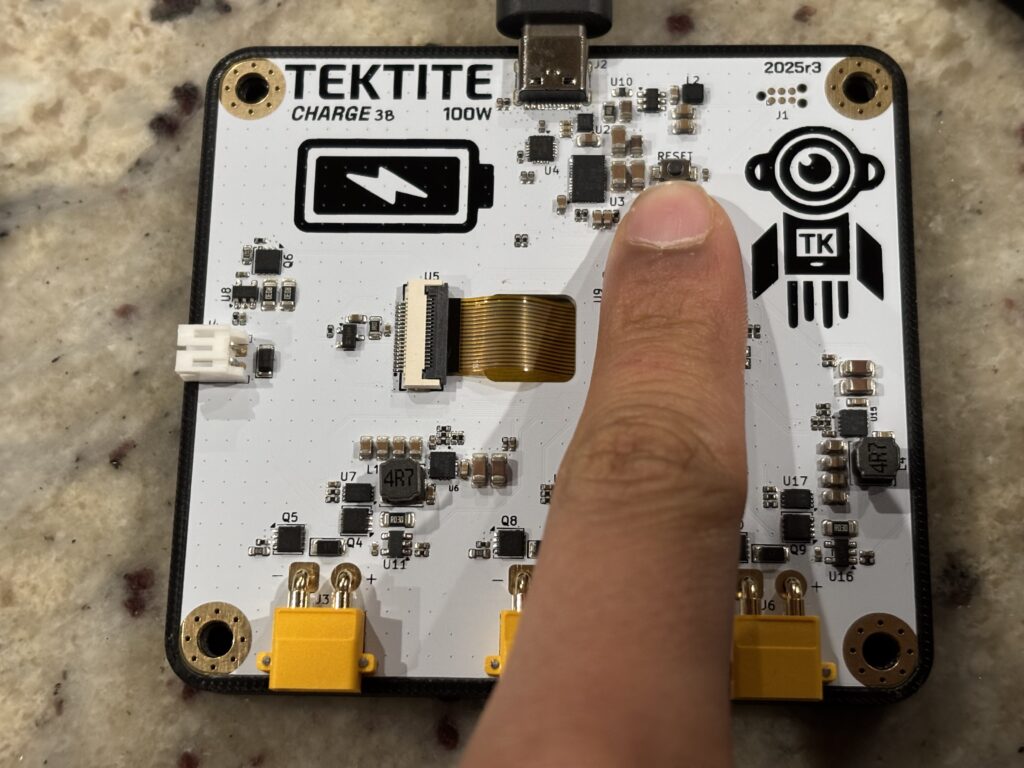
Press OK and then press the RESET button on the PCB (the button above BOOT, which you pressed earlier):
On the other side, you should see the screen turn on and give you an error because it is connected to a USB-A power supply.
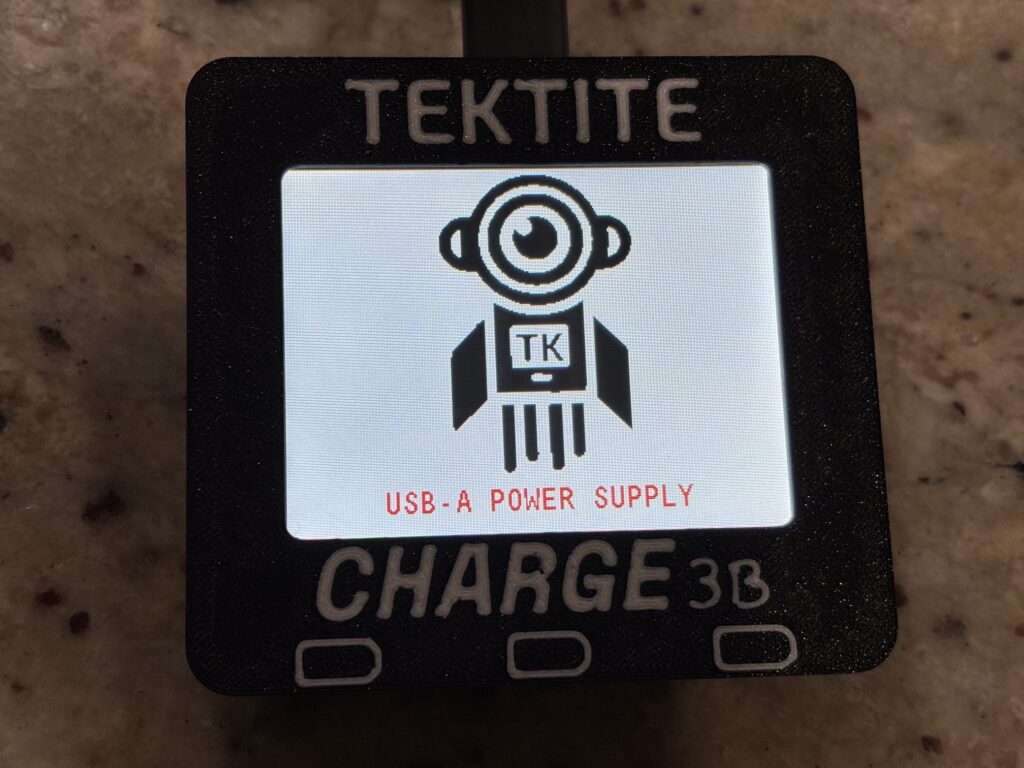
That means that the firmware update has been successful!
8. Put together the case
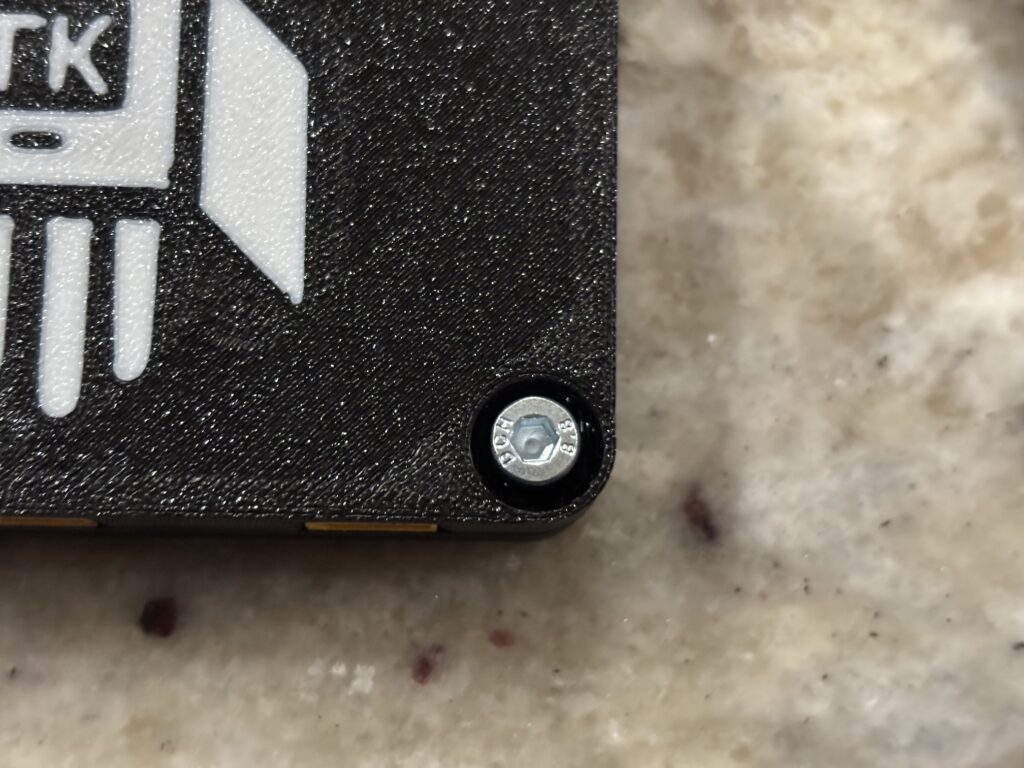
Now, put the rear cover back on and screw in the four screws with the same screwdriver. They are threaded into plastic, so be sure not to over-tighten! Additionally, ensure that the screws are going in straight. Otherwise the silicone feet will not fit back in.
Here is an example of a screw that did not go in straight, which you can tell by the fact that it is off-center inside the hole. To fix it you would want to loosen the screw, tilt it so that it is straight, and put it back in.
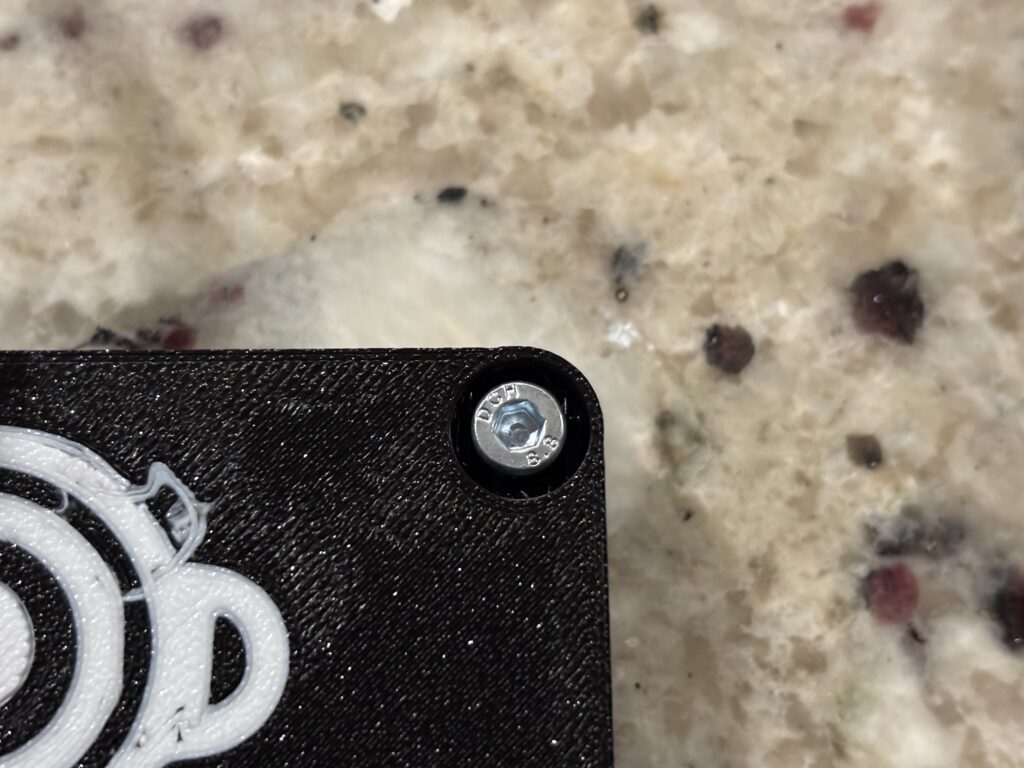
Here is an example of a screw that went in straight (good):
Finally, re-install the silicone feet and you are done with the firmware update!